Discord Badge Maker: Create Custom Badges
Design custom server badges with your own images, give them to your members, and let them show off their collection. These are server badges unique to your community — no Nitro required.
1 Invite T4
If you haven't already, add T4 to your server.
2 Create the Badge
Type /create and upload an image for your badge. Fill in the name, an optional emoji for nicknames, a description, and a ping message.
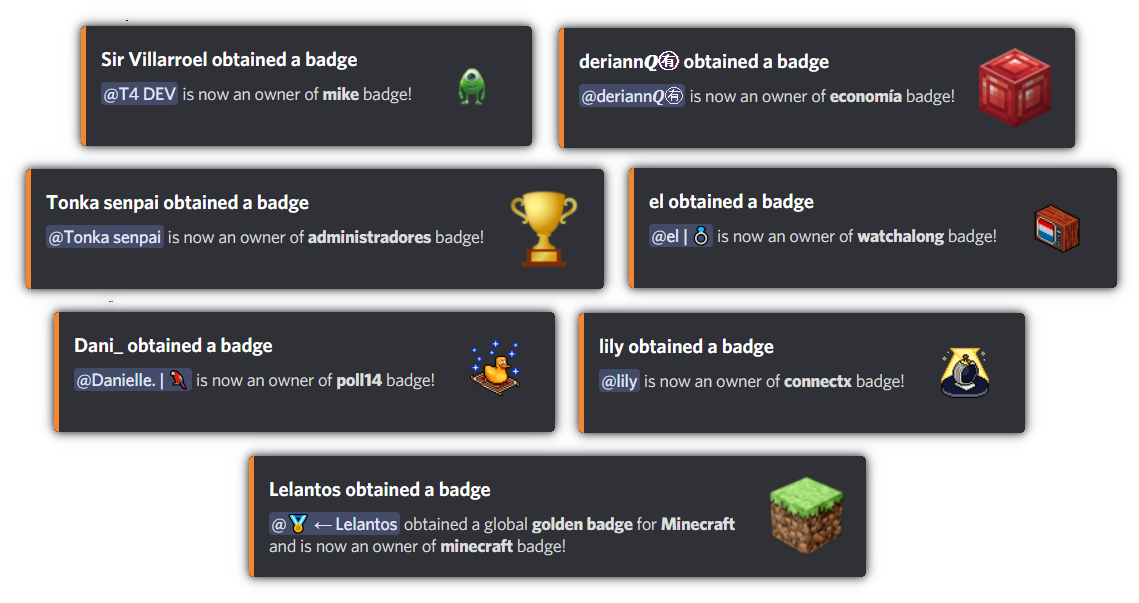
Your badge is now in your server's badge list. View all badges with /server-badge-list.
3 Give It to Members
Award the badge to individual members:
/give [badge] [member_1] <member_2> ... <member_9>
Or give it to everyone with a specific role using /give-to-role.
4 View Badges
Members can see their badges in two ways:
/badges — visual grid view /badge-list — text list view 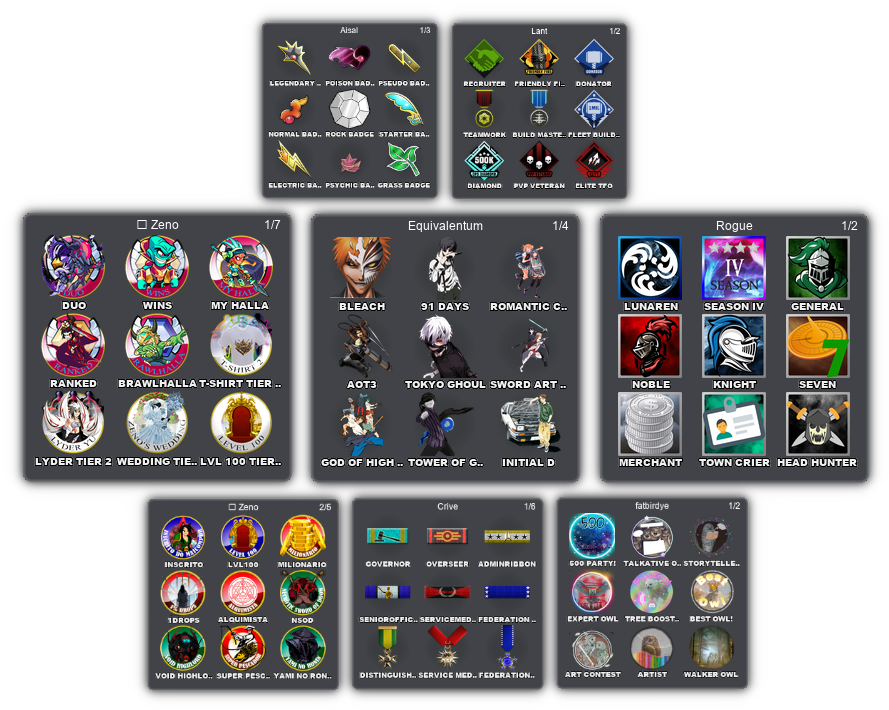
/badges grid view of a member's collection.
5 Edit or Remove
Update a badge's name, emoji, image, description, ping text, or activity status with /edit [badge].
Remove a badge from a member with /remove [badge] [member_1] <member_2> ....
Delete a badge entirely with /server-remove-badge.
Limits
Free: Up to 10 server badges, 10 badges per member.
Premium: Up to 1,000 server badges, 1,000 badges per member.
Running into issues?
See the Troubleshooting guide for fixes to common problems — role icons not showing, "the application did not respond", unexpected golden badges, and more.